
Best Recipes for Home Facial Scrubs & Masks
Have you ever thought about the reasonableness of treating the face with scrubs and masks? Is there any significant difference between the effect produced by ready-made and homemade masks? What are the basic functions of facial scrubs and masks? Carry on reading if you’re want to learn the answers to these questions.
In short, facial mask leaves skin smooth and evens out its tone, whereas facial mask improves skin resilience and nourishes it so that skin stays supple for longer and looks well-rested. No doubts, such products offer nothing but benefits for skin, no matter if you get them from a shop or make your own customized masks and scrubs at home.
Naturally, you can pick and choose among a great variety of facial scrubs and masks available in any drugstore but – of course – you can also make your own skincare products at home. Want to find out which home facial scrubs and masks are the best? That’s great because we’ve gathered a few recipes for facial scrubs and facial masks just for you!
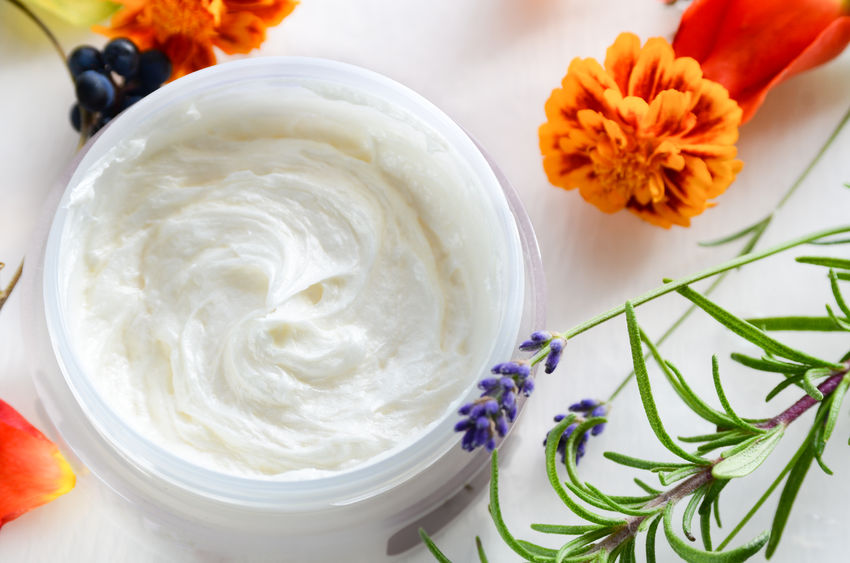
Recipes for home facial masks and scrubs
CORN FLOUR FACIAL SCRUB
This is one of the best home skin treatments that is not only totally non-invasive but also perfect for all skin types, including delicate, sensitive and irritation-prone. You don’t have to rub the corn flour facial scrub against the skin to see the exfoliation effect. This means that you get all the benefits of a facial scrub, which are nourishment and removal of dead skin cells, without causing any harm to the skin.
Prepare fat milk and corn flour. Combine both ingredients so that you obtain a thick paste and then apply it to the face. Let it sit for 15 minutes. During this time corn flour and milk will not only refresh your skin but also free your face from impurities. The good news is that you can use corn flour facial scrub even twice a week, especially when skin pores seem to be clogged.
OAT FLAKES FACIAL SCRUB
Another great idea for home facial scrub. Take a handful of oat flakes and pour water over them so all of the flakes are submerged. Leave it overnight and use it in the morning to wash your face with. Such homemade skincare product gives you two benefits. Firstly, oat flake facial scrub cleanses your face deeply and secondly, it exfoliates dead skin cells.
WALNUT FACIAL SCRUB
Here is another DIY facial scrub suitable for all skin types at all ages. Take a handful of walnuts and chop them finely. Then combine them with approximately 10 ml of honey. Apply your walnut facial scrub to the skin, massage for a few minutes and later rinse thoroughly. Follow with applying a chosen facial mask.
MILK FACIAL MASK FOR SAGGY SKIN
DIY milk facial mask is a perfect and cheap tool to deal with saggy skin at home. Combine 3 cups of hot fat milk with chopped parsley. Once it cools down, dunk a gauze in the milk and put it on the face. Such white facial mask leaves skin firm and brighter. You can use it also on your neck and chest.
CELERY FACIAL MASK TO NOURISH AND REVIVE THE SKIN
This facial mask is a life-saver when your skin is losing its radiance, resilience and moisture. The mask also keeps skin’s pH balanced. How to prepare it? Finely grate a half of a small celery. Combine it with olive oil or argan oil to obtain a thick mass. If you want to, you can enrich this facial mask with a thick and fat dairy cream. Now, you can apply it to the face and remove it after more or less 20 minutes.
CANNELLINI BEAN FACIAL MASK FOR AN ENERGY BOOST
If you had a sleepless night and your skin looks tired, cannellini bean facial mask may be your savior. Keep boiling the beans until they are soft, mash them with a fork, let them cool down and combine with a spoon of honey, a spoon of lemon and a dash of jojoba oil. Let the mask sit on your face for 15 minutes and then rinse with lukewarm water.
ICE-CUBE FACIAL MASSAGE – A FOLLOW-UP SKIN TREATMENT
You can do this skin treatment before applying a homemade facial scrub, or just at any time you like. Giving massage to your face using ice cubes is a perfect way to improve skin’s resilience in a snap. Take a clean cloth and wrap an ice cube with it. Now you can press the ice cube to your face and slowly glide it over the skin. Start from the center of your face and glide the ice cube outwards, that is to ears and temples.


Leave a Reply